
Are you ready to unlock the incredible potential of Fused Deposition Modeling (FDM) 3D printing? Imagine having the power to transform your digital designs into tangible objects, right at your fingertips. FDM technology has revolutionized the world of 3D printing, making it more accessible and user-friendly than ever before. Whether you're a curious hobbyist, a budding entrepreneur, or simply someone who loves to create, embarking on your FDM 3D printing journey will open up a world of possibilities.
FDM 3D Printers: Key Components and Their Functions
The Frame: Your Printer's Skeleton
At the core of every FDM printer lies its frame ? a robust skeleton supporting all other components. Typically crafted from metal or high-grade plastic, the frame ensures stability and precision during printing. It houses the motion system, comprising stepper motors, belts, and rails that guide the printhead's movement along the X, Y, and Z axes.
A well-designed frame minimizes vibrations and maintains accuracy, crucial for high-quality prints. Some advanced models, like QIDI's 3D printers, feature enclosed frames, which help maintain consistent temperatures and shield prints from external disturbances.
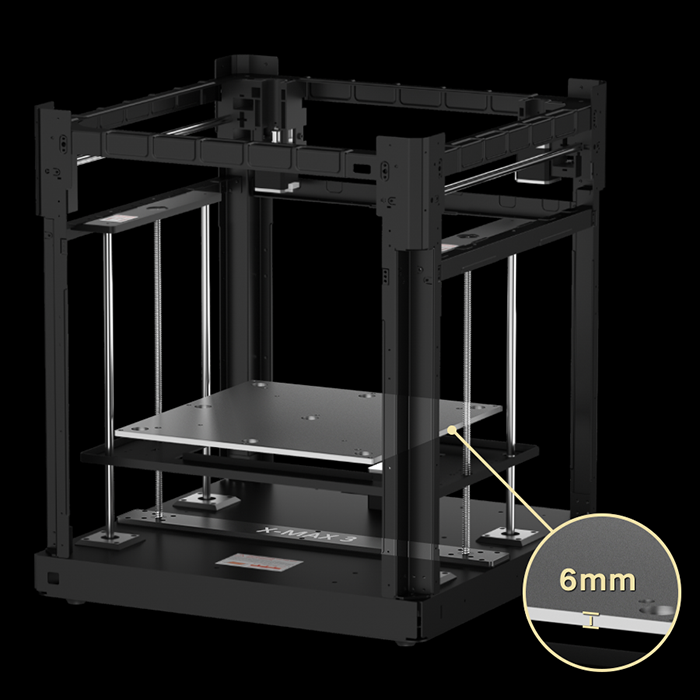
The Print Bed: Where Your Creations Take Shape
The print bed serves as the foundation for your 3D creations. This flat surface, often heated, is where the first layer of molten filament is deposited. The bed's temperature and material play vital roles in ensuring proper adhesion and preventing warping.
Modern print beds come in various materials, each with unique properties. Glass beds offer a perfectly flat surface and easy print removal when cooled. PEI sheets provide excellent adhesion for many filament types. Flexible steel sheets with special coatings allow for easy print removal by bending.
Some printers feature auto-leveling systems that compensate for slight irregularities in the bed's surface, ensuring consistent first layer adhesion across the entire print area.
The Extruder: Your Printer's 'Drawing' Tool
The extruder assembly is the printer's artistic tool, responsible for melting and precisely depositing filament. It consists of two main parts:
- Hot End: This is where the magic happens. The hot end melts the filament and extrudes it through a tiny nozzle. It maintains a consistent temperature, crucial for smooth filament flow and proper layer adhesion.
- Cold End: Acting as the filament's guide, the cold end feeds material into the hot end. It includes a stepper motor and gears that control the filament's flow rate with exacting precision.
Motion System: Choreographing the Print
The motion system orchestrates the intricate dance of 3D printing. Stepper motors, coupled with belts or lead screws, guide the extruder's movement along the X, Y, and Z axes. This precise coordination allows the printer to translate digital instructions into physical objects with remarkable accuracy.
The Filament System: Supplying the 'Ink'
The filament delivery system ensures a steady supply of material to the extruder. It typically consists of a spool holder and a feed mechanism. Some printers use direct drive systems, where the extruder motor is mounted directly above the hot end. Others employ Bowden setups, which use a tube to guide the filament from a remotely located motor to the hot end.
How FDM 3D Printing Works
FDM 3D printing begins with the printer heating up. The hot end warms to the appropriate temperature for the filament, typically 200-230�C for materials like PLA or ABS. Simultaneously, the print bed heats up to ensure proper adhesion of the first layer.
Once heated, the printer starts extruding melted filament onto the bed, carefully laying down the crucial first layer. This foundation is vital for the entire print's success. As this initial layer cools and solidifies, the print bed lowers slightly, usually by 0.1-0.3mm.
The printer then continues building the object layer by layer. The print head moves precisely in the X and Y directions, following a path defined by G-code instructions. It deposits thin lines of melted filament that bond with the layer below as they cool. This process of coordinated movement and controlled extrusion creates the object's shape.
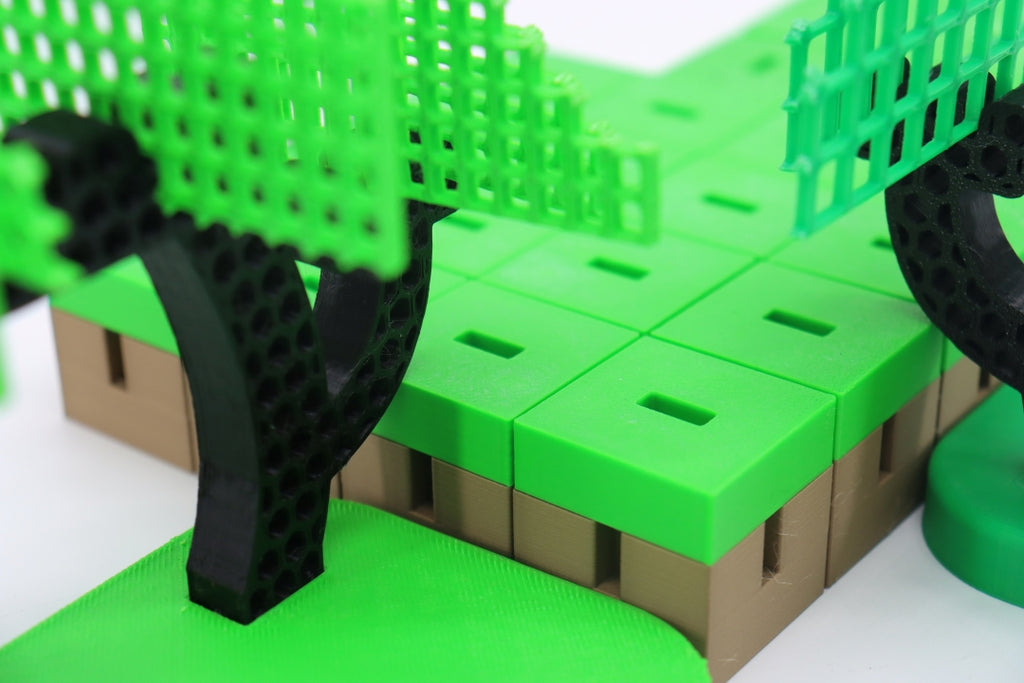
For parts of the object that overhang, the printer simultaneously creates removable support structures. These temporary supports prevent the object from collapsing during printing. The printer doesn't create completely solid objects; instead, it fills the interior with a pattern called infill, providing strength while using less material.
This process of layering, supporting, and filling continues until the entire object is built. The duration varies based on the object's size and complexity. Once the final layer is complete, the printer cools down, allowing the plastic to fully solidify, resulting in the finished 3D printed object.
What Can You Create with FDM 3D Printing?
FDM 3D printing opens up a world of possibilities for creating a wide range of objects. Here are some common applications:
- Prototypes and Models: Quickly bring product designs to life for testing and visualization. From architectural models to product prototypes, 3D printing accelerates the design process.
- Household Items: Create custom organizers, decorative objects, replacement parts for appliances, or unique gadgets to solve everyday problems.
- Educational Tools: Print 3D models of complex concepts in science, mathematics, or engineering to enhance learning experiences.
- Toys and Games: Design and print custom figurines, board game pieces, or entirely new games.
- Cosplay and Prop Making: Craft intricate costume pieces, props, or replicas for cosplay or film production.
- Functional Parts: Produce small machine parts, brackets, enclosures for electronics projects, or custom tools.
- Art and Sculpture: Explore new forms of artistic expression by creating sculptures or installations that were previously difficult to manufacture.
- Medical Models: In healthcare settings, print anatomical models for surgical planning or educational purposes.
While FDM 3D printing is versatile, it's important to note its limitations. It may not be suitable for producing food-safe items without special considerations, and it's not typically used for high-stress mechanical parts. The surface finish of FDM prints may also require post-processing for a smoother appearance.
How to Get Started with FDM 3D Printing
1. Pick the Best 3D Modeling Software for Beginners
For newcomers to 3D modeling, user-friendly options include TinkerCAD, a simple browser-based tool ideal for learning basics, and Fusion 360, which offers a good balance of features and usability. Blender is a versatile, open-source option suitable for both beginners and experts, while SolidWorks is excellent for precise, technical designs.
2. Evaluate 3D Modeling Software Features
When choosing 3D modeling software, prioritize an intuitive interface, a comprehensive library of basic shapes, and tools for combining and modifying shapes. Look for accurate measurement and scaling options, the ability to export designs in 3D printing-friendly formats, and features that allow you to import and modify existing models.
3. Find 3D Models for Printing
Popular repositories for 3D models include Thingiverse, which offers a large collection of free, community-created designs; MyMiniFactory, known for high-quality models; and Cults3D, which provides both free and paid models with unique designs.
4. Evaluate Model Printability for FDM
Not all 3D models print well on FDM printers. When selecting models, keep these tips in mind:
- Overhangs: FDM printers work best with gentle overhangs, ideally less than 45 degrees from vertical. Steeper overhangs may require support structures, which can affect print quality.
- Feature size: Due to nozzle size and layer height limitations, FDM printers struggle with very fine details. Choose designs with larger features for better results. Features smaller than 0.8mm may not print reliably on a standard 0.4mm nozzle.
- Orientation: Models with a flat bottom surface are easier to print and adhere better to the print bed. Consider how you might rotate a model for optimal printing orientation.
- Size: Ensure the model fits within your printer's build volume. While scaling is possible, it may affect the printability of fine features or thin walls.
Starting with pre-made models can help you understand what makes a good 3D print. As you gain experience, you'll develop skills to create or modify your own designs for better printing results.

Moving Forward: Steps to Successful FDM 3D Printing
1. Slicing Your 3D Model for Printing
Slicing software turns your 3D model into printer instructions. Popular programs like Cura and PrusaSlicer let you adjust key settings such as layer height, print speed, and temperature. Thinner layers make smoother prints but take longer, while faster speeds can affect quality. Different materials need different temperatures.
Supports and infill are important. Supports help print overhanging parts, and infill determines the inside structure. After setting everything up, the software creates a file (G-code) with detailed instructions for your printer.
2. Preparing Your 3D Printer
Loading filament correctly is crucial. Heat the nozzle, cut the filament end at an angle, and gently push it into the extruder. Use the printer's controls to feed the filament through until you see it come out of the nozzle.
Getting the first layer right is key to a good print. Level the print bed, either by hand or using automatic systems. For manual leveling, adjust the bed height at several points until the gap between the nozzle and bed is even all around. Test by printing a large, single-layer shape and make adjustments as needed.
3. Selecting the Right Filament
FDM printers use plastic filaments that come on spools. PLA is great for beginners and prints at lower temperatures. ABS is stronger but trickier to print. PETG offers a good mix of properties. TPU is flexible, and Nylon is tough but can be challenging to print.
When picking a filament, think about what your printer can handle and what you're making. Always check the manufacturer's recommended settings. Trying different filaments will help you find what works best for your needs.
Refining Your 3D Prints: Post-Processing Techniques
Removing Supports and Initial Cleanup
Once your FDM print is complete, the first step is removing any support structures. This process requires care to avoid damaging your print. For PLA supports, needle-nose pliers or flush cutters work well. Gently twist and pull the supports away from the model. For water-soluble supports, soak the print in warm water until the supports dissolve.
After support removal, inspect your print for any residual strands or imperfections. Use fine-tipped tweezers to remove small bits of plastic, and a hobby knife to carefully trim any excess material.
Surface Refinement: Sanding and Smoothing
Sanding is a common method to smooth layer lines and improve surface finish. Start with a coarse-grit sandpaper (around 100-grit) and progressively move to finer grits (up to 2000-grit for a very smooth finish). Sand in circular motions, being careful not to apply too much pressure.
For ABS prints, acetone vapor smoothing can create a glossy, smooth surface. Place your print in a well-ventilated area and expose it to acetone vapor for a short time. Be cautious, as over-exposure can melt fine details.
Adding Color: Painting Your Prints
Before painting, apply a primer to help the paint adhere better. Choose a primer suitable for plastic and apply thin, even coats. Once the primer is dry, you can paint your model using acrylic paints or spray paints designed for plastic. Multiple thin coats usually yield better results than one thick coat.
Advanced Finishing Techniques
For a professional-grade finish, consider these advanced techniques:
- Filler primers can help hide layer lines. Apply the filler, sand it smooth, and repeat as necessary.
- Epoxy coatings can create a glossy, durable finish. They're particularly useful for functional parts that need extra strength.
- Polishing compounds, used with a rotary tool, can achieve a high-gloss finish on some materials.
Protecting Your Finished Print
To ensure your print lasts, consider applying a clear protective coat. This is especially important for painted models or those that will be handled frequently. UV-resistant clear coats can prevent color fading for prints exposed to sunlight.
For functional parts, consider the environment they'll be used in. Heat-resistant coatings can protect prints used near heat sources, while waterproof sealants are ideal for outdoor use.

Troubleshooting Common FDM 3D Printing Issues
As a beginner, you may encounter some challenges. Here are solutions to common problems:
1. Poor Bed Adhesion
Ensure your bed is level and clean. Adjust the nozzle height so it slightly squishes the first layer. For stubborn prints, try using a brim or raft for better adhesion. You can also apply a thin layer of glue stick or hairspray to the bed to improve stickiness.
2. Stringing or Oozing
To reduce stringing, try lowering the printing temperature and increasing retraction settings. Adjusting travel speed can also help minimize oozing between different parts of your print.
3. Warping
Use a heated bed and ensure proper bed temperature to prevent warping. Adding a brim to your print can increase surface contact with the bed. Improve cooling with fans, and for materials like ABS, consider using an enclosure to maintain consistent temperature.
4. Layer Shifting
Check and tighten your printer's belts to prevent layer shifting. Ensure the print head moves smoothly along all axes. If the problem persists, try reducing print speed to minimize vibrations.
5. Clogged Nozzle
Perform a "cold pull" with nylon filament to clear minor clogs. For more stubborn blockages, clean the nozzle with a needle or consider replacing it if the issue persists.
6. Under-extrusion
Check your filament quality and diameter to ensure consistent extrusion. Try increasing nozzle temperature or adjusting flow rate settings. If the problem continues, clean or replace the nozzle.
Keep a log of your settings and changes to help identify what works best for your printer and filaments.
Start Your 3D Printing Journey Today
You now have a solid foundation to begin your FDM 3D printing adventure. From understanding the basics of how 3D printers work to choosing the right filament and perfecting your prints, you're equipped with the knowledge to create amazing objects. Remember, 3D printing is a skill that improves with practice. Don't be discouraged by initial setbacks ? they're all part of the learning process. As you experiment with different designs, materials, and techniques, you'll develop your own style and expertise. The world of 3D printing is constantly evolving, so keep learning and exploring. With patience and creativity, you'll soon be bringing your ideas to life in ways you never thought possible.
FAQs
1. What do you need to start 3D printing for beginners?
To start 3D printing, beginners need a few key items. First, you'll need a 3D printer, with FDM printers being great for newcomers. You'll also need filament, with PLA being a good choice for beginners. 3D modeling software like TinkerCAD or Fusion 360 is essential for creating designs, while slicing software such as Cura or PrusaSlicer prepares models for printing. Some basic tools for post-processing, like pliers and sandpaper, are useful. Lastly, you'll need a computer to design models and control the printer.
2. What should be the first thing I 3D print?
For your first print, it's best to start simple. A calibration cube is an excellent choice to test your printer's accuracy. Alternatively, you could try a simple figurine or toy to practice with supports and infill. A small, functional object like a phone stand or keychain can be satisfying and practical. Many beginners also start with a 3D printer test file that checks various aspects of print quality. Starting with simpler models helps you understand your printer's capabilities and settings before tackling more complex projects.
3. Is 3D printing beginner friendly?
Yes, 3D printing has become increasingly beginner-friendly in recent years. Many printers now come pre-assembled with user-friendly interfaces, making setup and operation much easier. There's also a wealth of online resources, tutorials, and communities available to help newcomers troubleshoot issues and learn new techniques. The key is to start with basic designs and gradually increase complexity, allowing beginners to learn at their own pace and build confidence as they go.
4. What are you not allowed to 3D print?
While 3D printing offers many possibilities, there are some restrictions to be aware of. Printing firearms or weapons is often illegal, though laws vary by location. It's also not permitted to print copyrighted or trademarked objects without permission, or to create counterfeit items or currency. Certain medical devices require proper certification before printing. Additionally, objects that violate patents should not be printed. It's important to always check local laws and regulations regarding 3D printing, and to consider the safety and ethical implications of your printing projects.
Read More
- SLA vs FDM 3D Printing: Which Technology Should You Choose?
- 3D Printing Materials Guide: Innovate Your Manufacturing
- Carbon Fiber Filament: Things You Need to Know
- 3D Printer Safety: Guide to Prevent Fire & Health Risks!
- Responsible 3D Printing: How to Recycle Your Failed 3D Prints